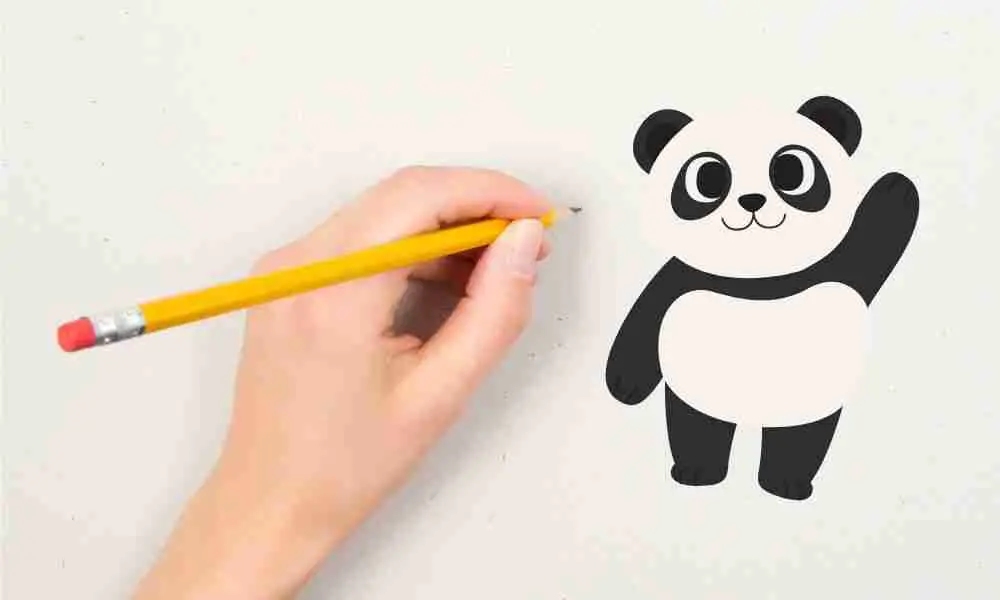
Pandas are cuddly creatures that look super cute in reality and images. If you’ve always wanted to draw a panda, but don’t know how to, you’re in the right place!
At the end of this article, you would have an idea of how to create a beautiful panda image.
Now, let’s get started!
Materials You Need:
1. A piece of paper
2. A Pencil
3. An eraser
4. Crayons (optional)
5. Black Markers (optional)
How to Draw a Giant Panda Bear
Carefully follow these simple steps:
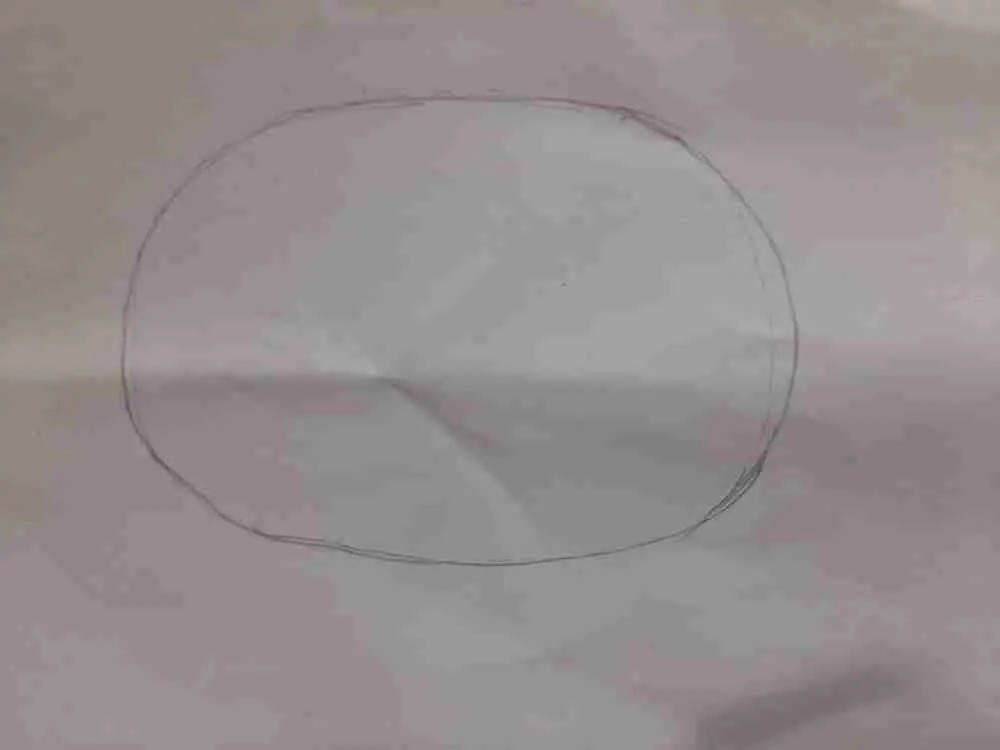
Step 1: Draw An Oval
Draw a big, smooth oval shape in a side manner. To make this easy, picture an egg placed on its side in a bowl. This shape will be for the main body.
Step 2: Sketch A Circle
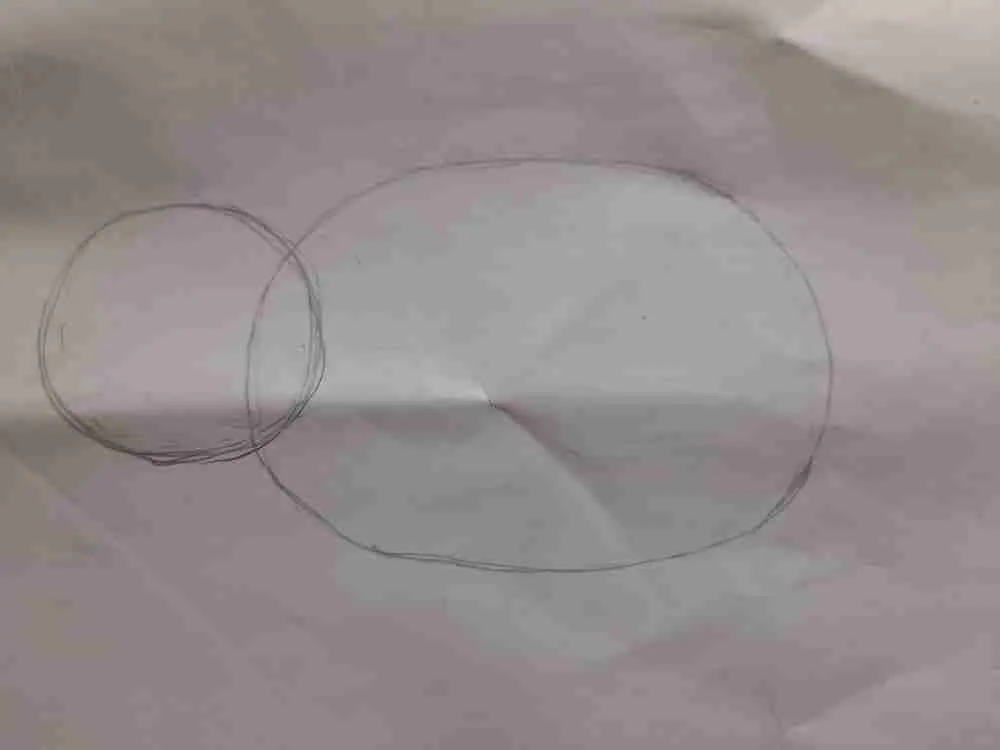
Now, draw a small circle and add it to the oval shape. You can either add the circle to the left or right side of the oval shape.
Bear in mind that this small circle will be the head of the panda. Hence, you need to add the circle to only a small part of the oval shape.
Step 3: Connect Both Images
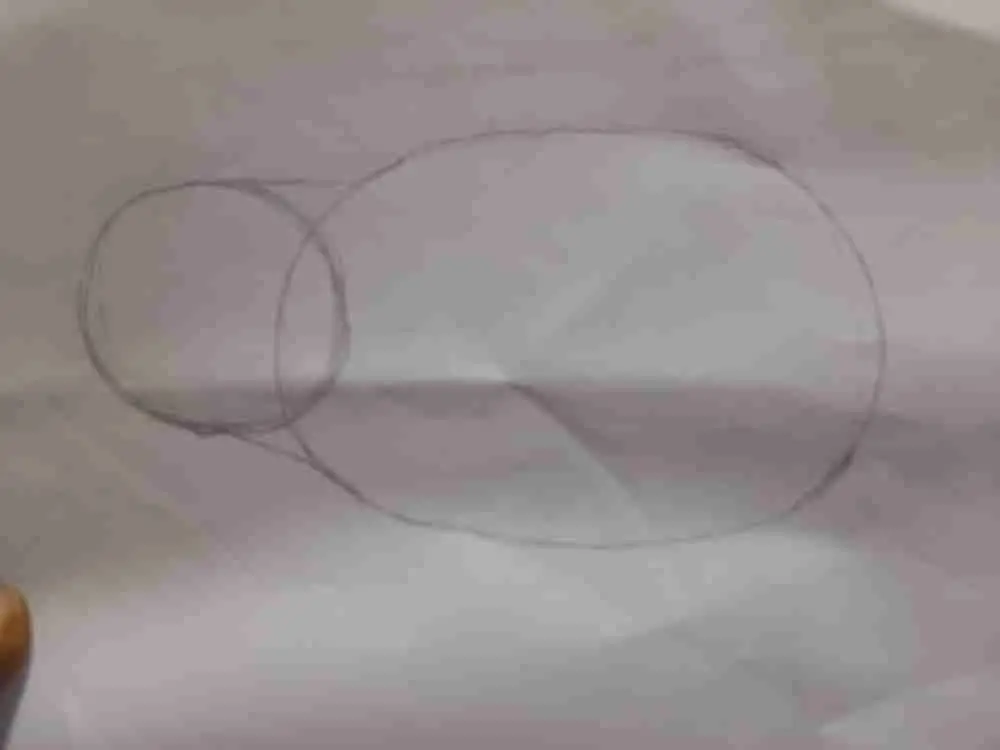
Next, connect the two images by adding a thin line at the top and the bottom.
Step 4: Sketch Lines For The Legs
At the left and right parts of the oval shape, draw two slant lines. These lines will create a distance between the front and back legs.
Draw two lines each at the edge of the slant lines you’ve sketched. Make these lines slightly curved towards the down parts.
We now have the panda’s legs.
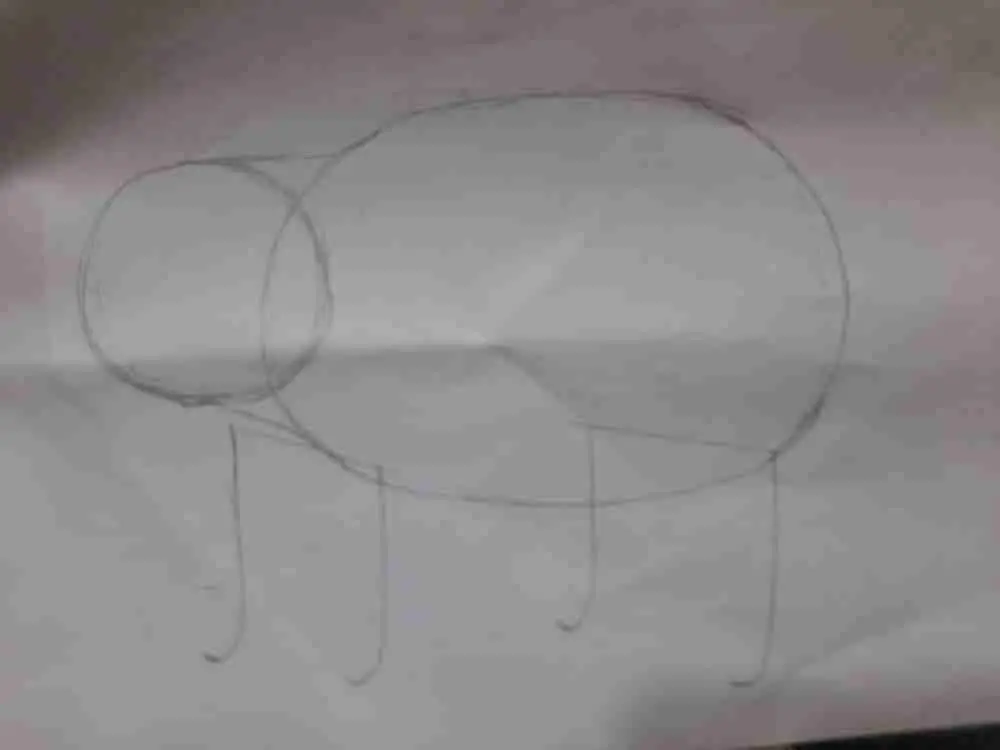
Step 5: Draw More Oval Shapes
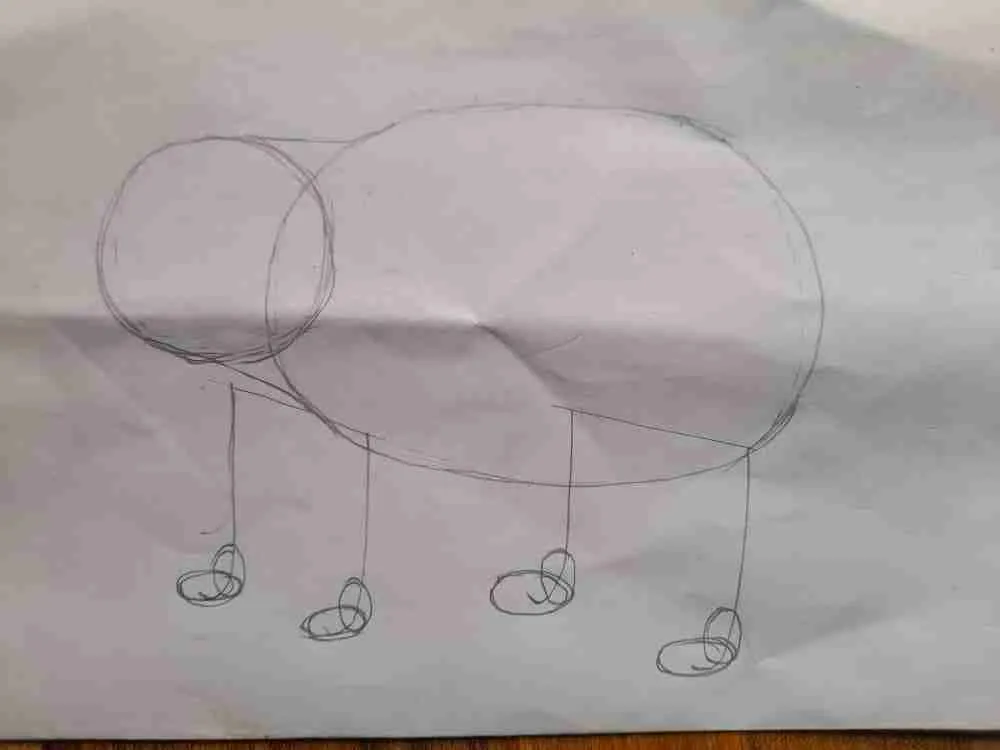
After drawing the legs, we need to add feet to them. At the base of the legs, draw 2 small oval shapes each for the feet.
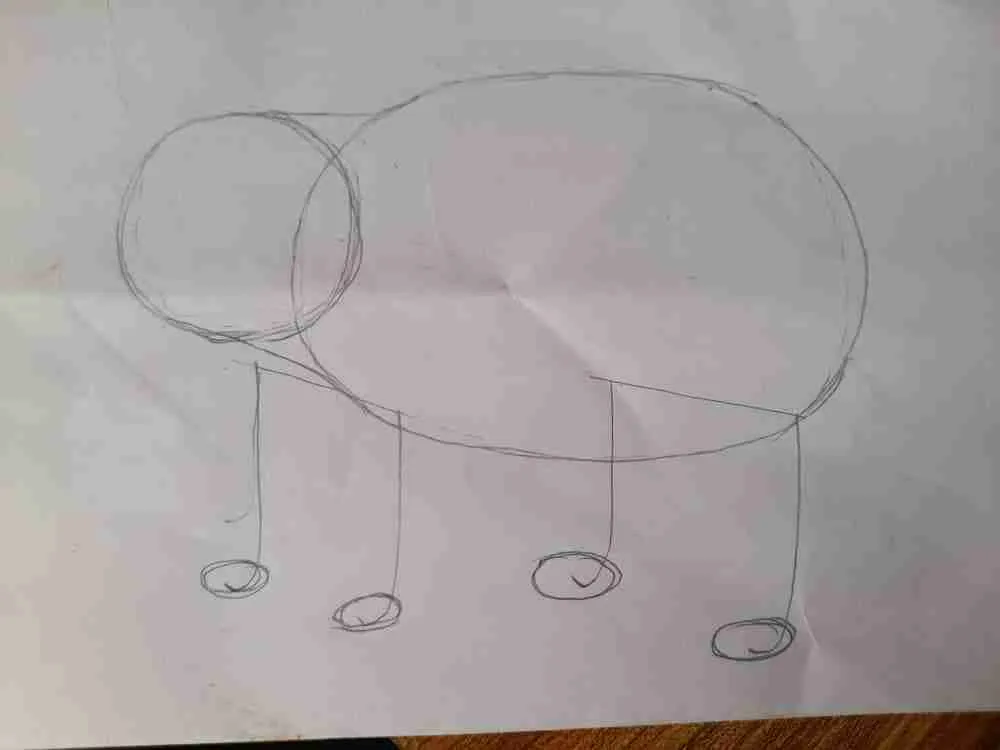
Add 2 more oval shapes each to both feet to make them appear thicker.
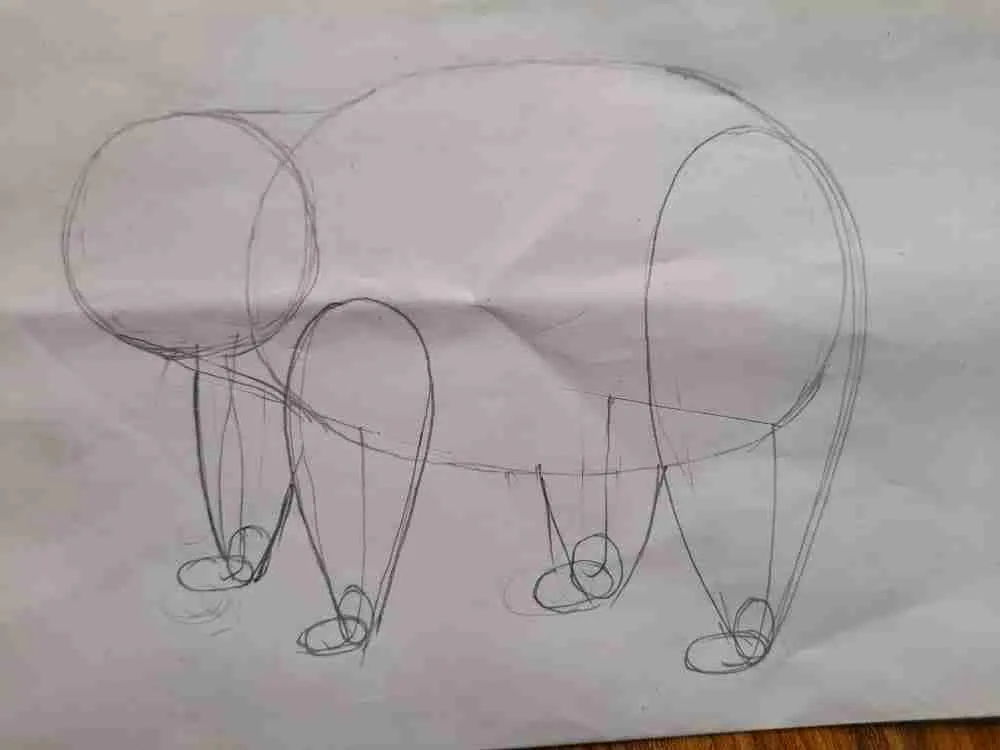
Step 6: Sketch The Limbs
Outline the arms and limbs of the panda’s body. Both arms and limbs should be big, considering an average panda’s size.
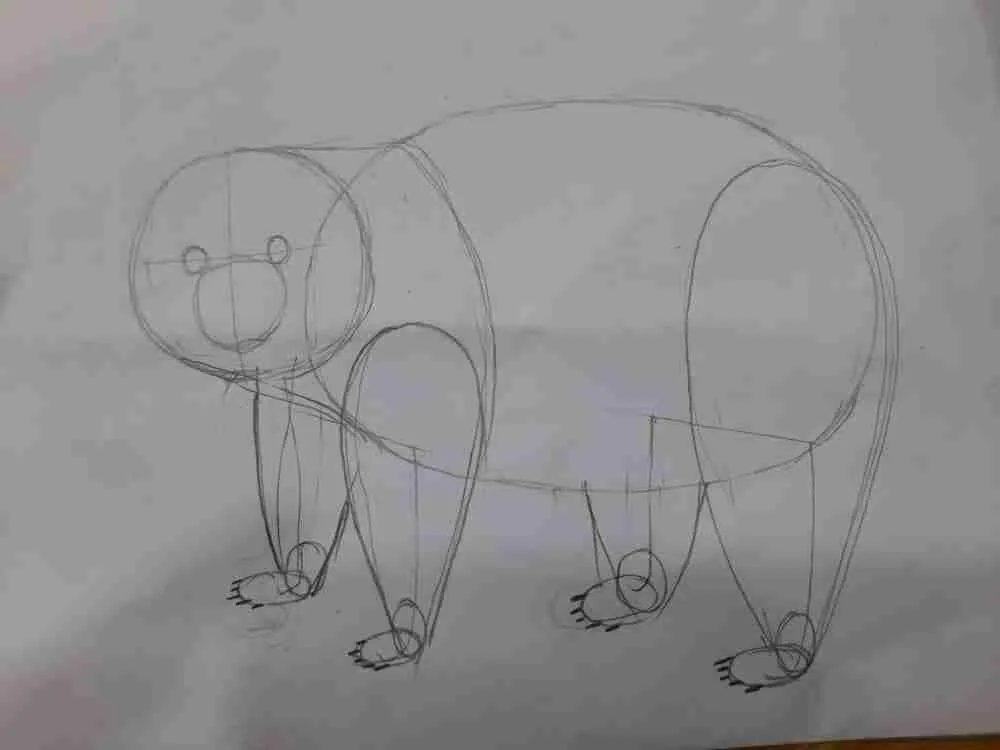
Step 7: Draw The Panda’s Face
Draw two slightly curved vertical and horizontal lines on the panda’s face.
Directly below the horizontal line, draw close to the base of the face, and draw a small circle for the nose. And directly above the horizontal line, draw two tiny dots to represent the eyes.
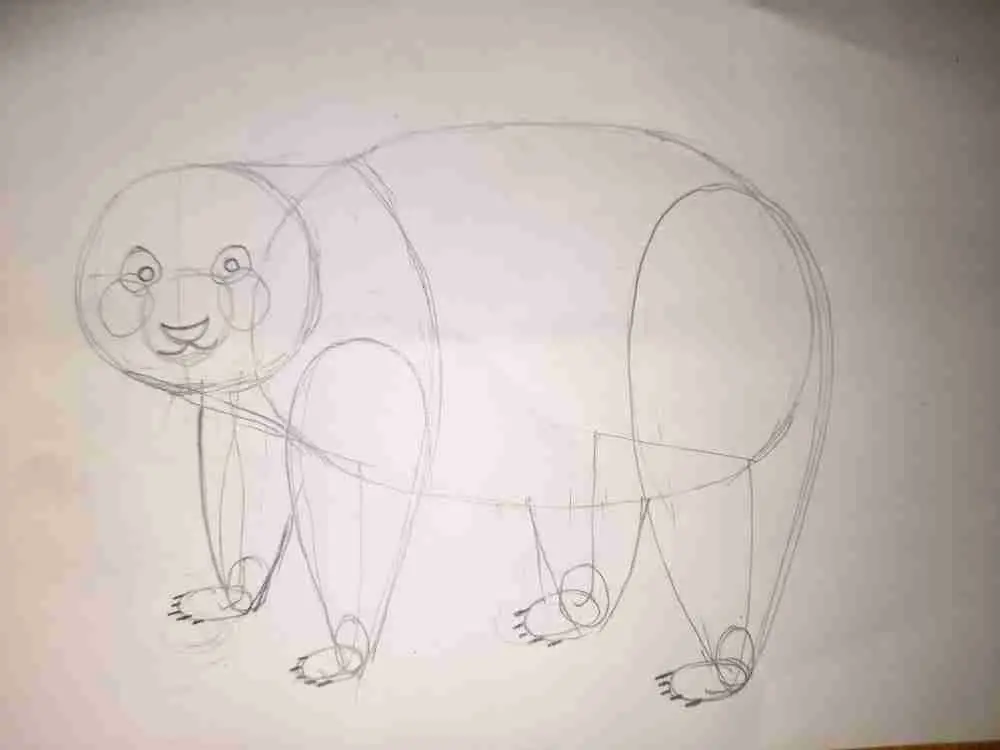
Begin by drawing two small oval shapes around the panda’s eyes to represent the patches.
Afterward, draw an upside-down triangle in the middle of the small circle on the face, close to the base for the nose.
Draw a wide letter “w” directly below the nose for the panda’s mouth.
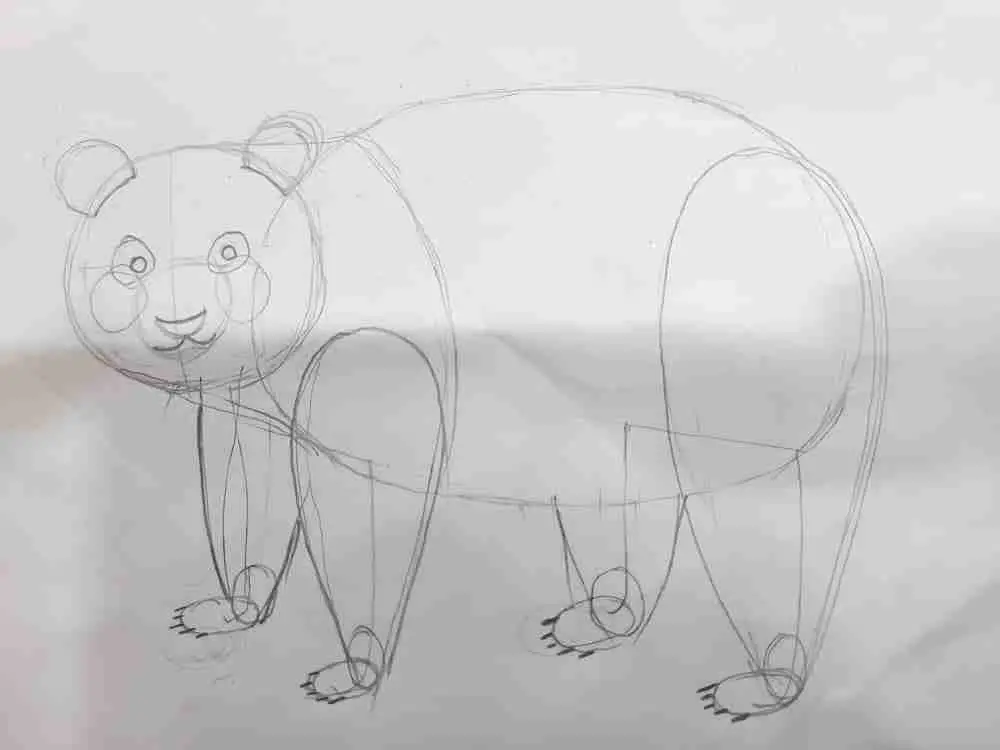
Next, draw two semi-circles each at the sides of the head for the ears.
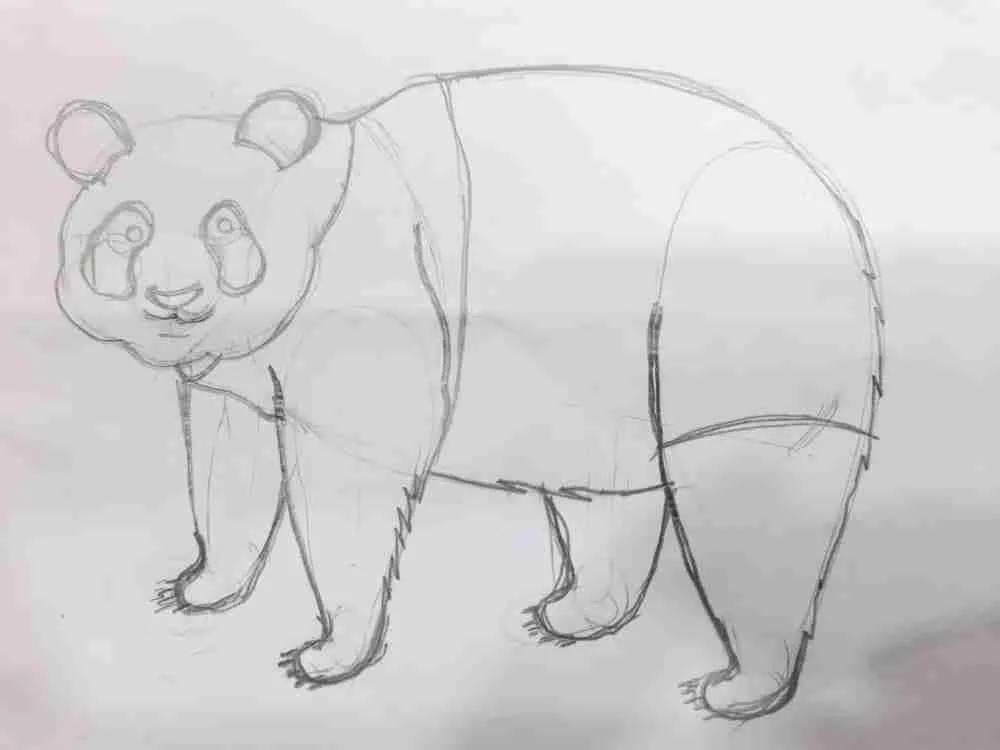
Step 8: Erase Extra Lines
Carefully erase all extra lines on the panda image. Without taking this step, your work will not come out neatly.
Add an extra line to the panda’s left limb.
Step 9: Darken The Patterns
If you’ve followed steps 1 to 7 correctly, you should now have a panda image. With your black marker or pencil, shade the panda’s eyes’ patches.
Next, shade the ears, and make the nose darker too. Shade the arms and the limbs from the shoulders to the feet.
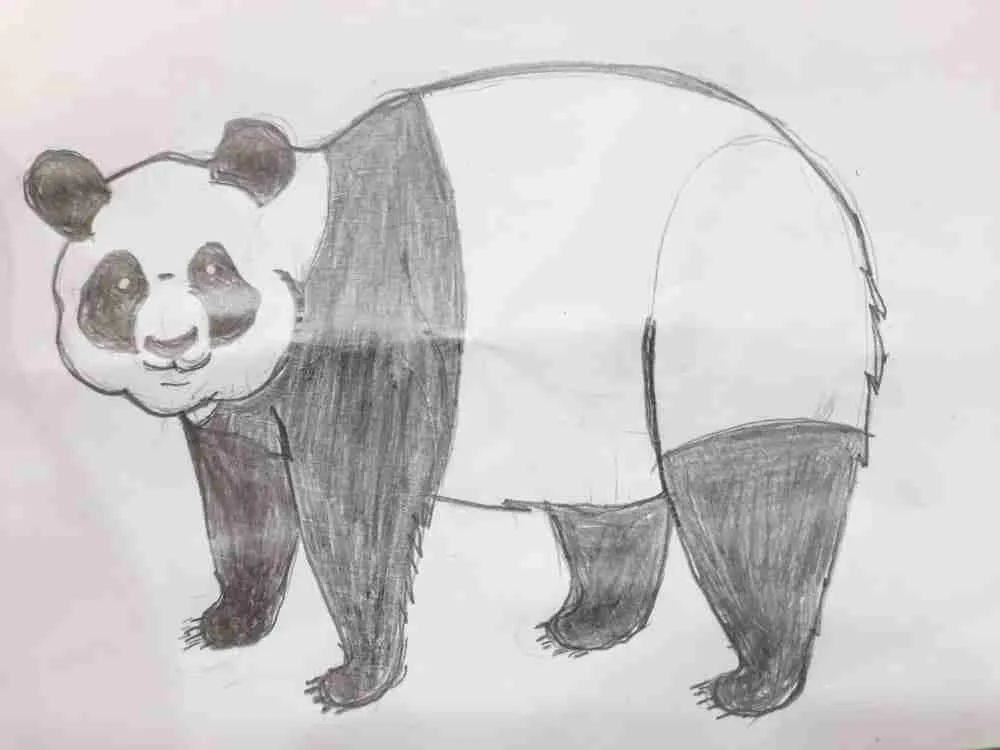
If you want to add a colorful background to the image, you can use your crayons to design a bamboo forest or a Zoo.
How Do You Draw A Baby Panda?
Follow these simple steps to draw a baby giant panda:
Step 1: First, draw a large oval shape. Next, draw two small circles within the oval face to represent the eyes of the baby panda.
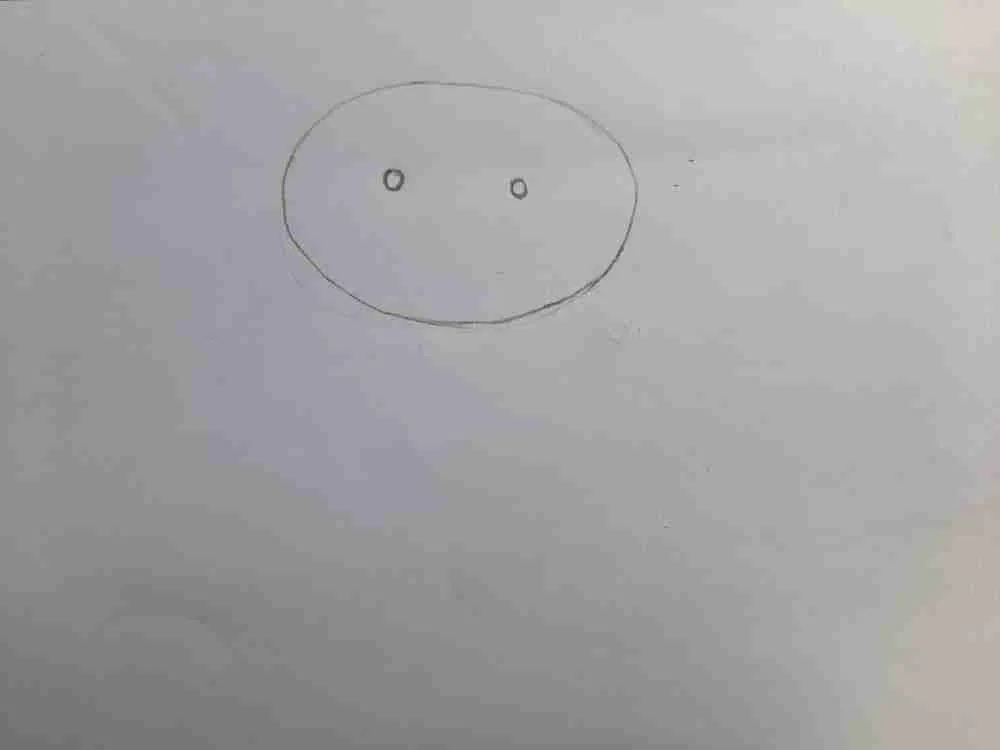
Then, Sketch two oval shapes around the eyes for the patches.
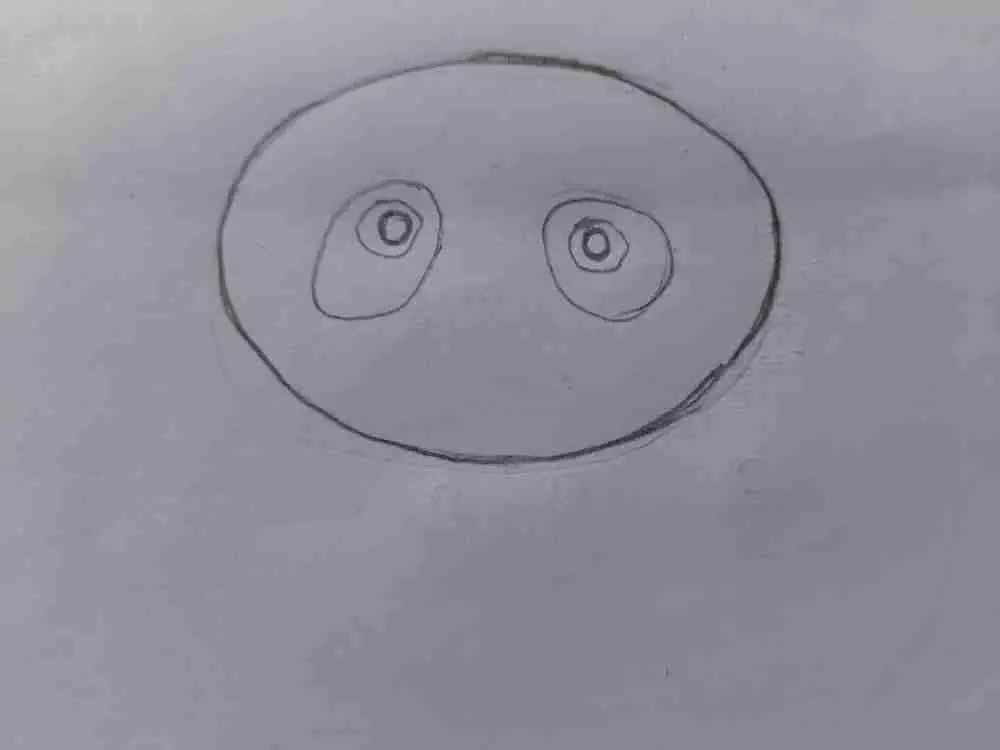
Step 2: Draw two semi-circles each at the upper part of the face to form the ears.
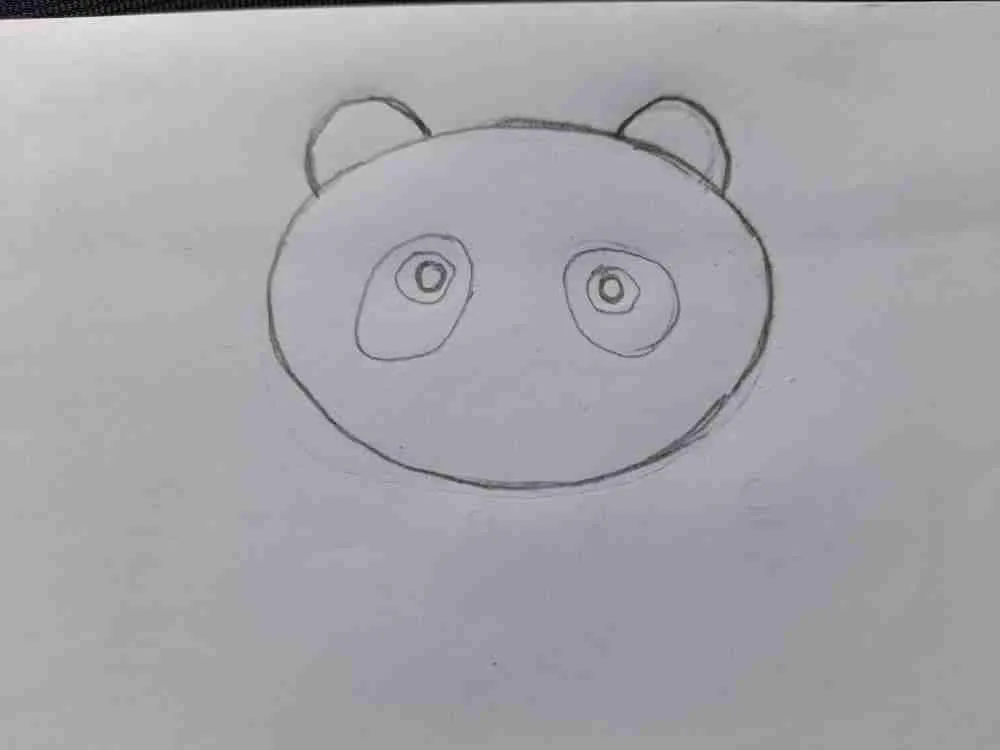
Step 3: Draw a small circle between the eye patches to form the nose.
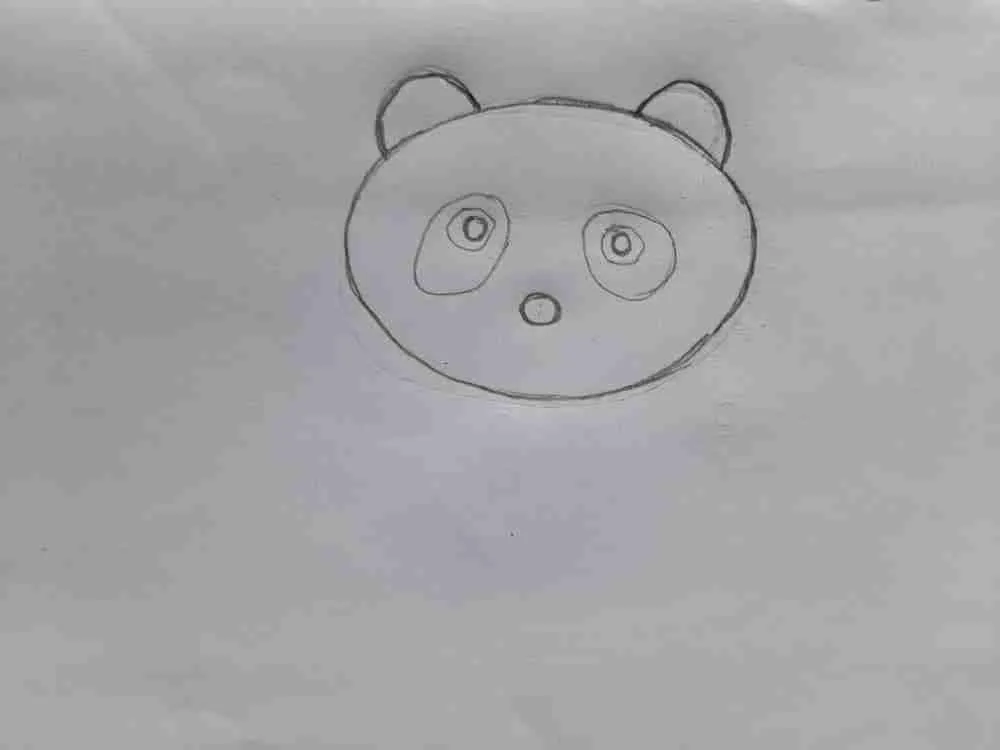
Step 4: Directly below the nose, draw a wide letter “w”. This will be the mouth of the baby panda.
Step 5: Sketch a shape of the number “6” facing each other, directly below the large face. Connect the two “numbers” where they intersect. This will be the baby panda’s body.
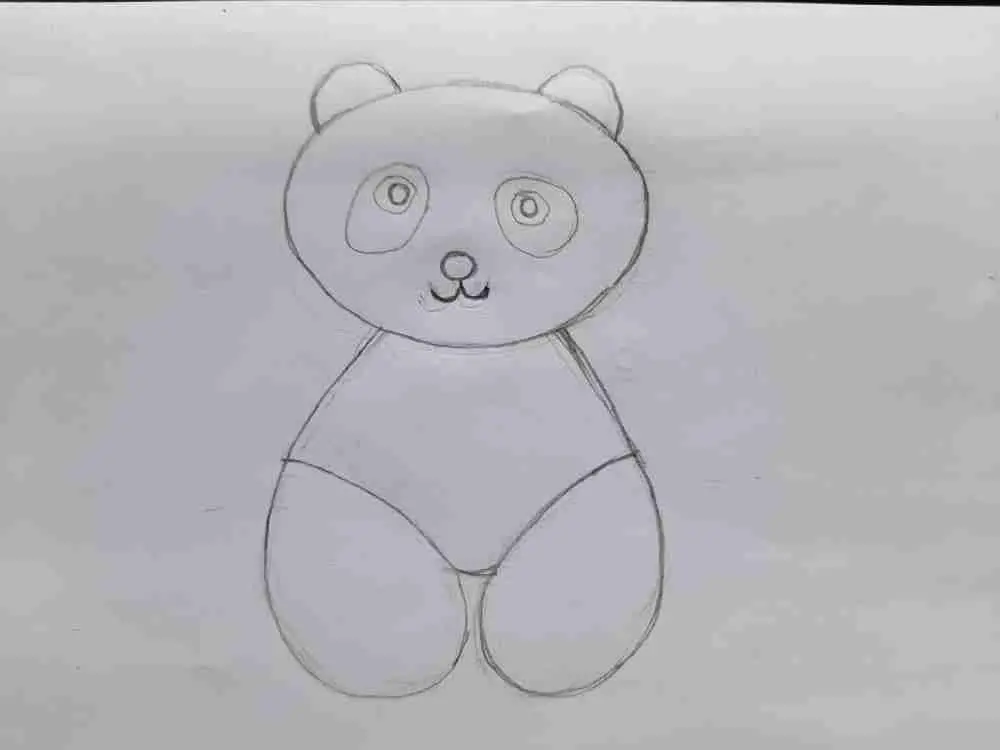
Step 6: Draw two long letters “C” on each side of the body, the upper part specifically.
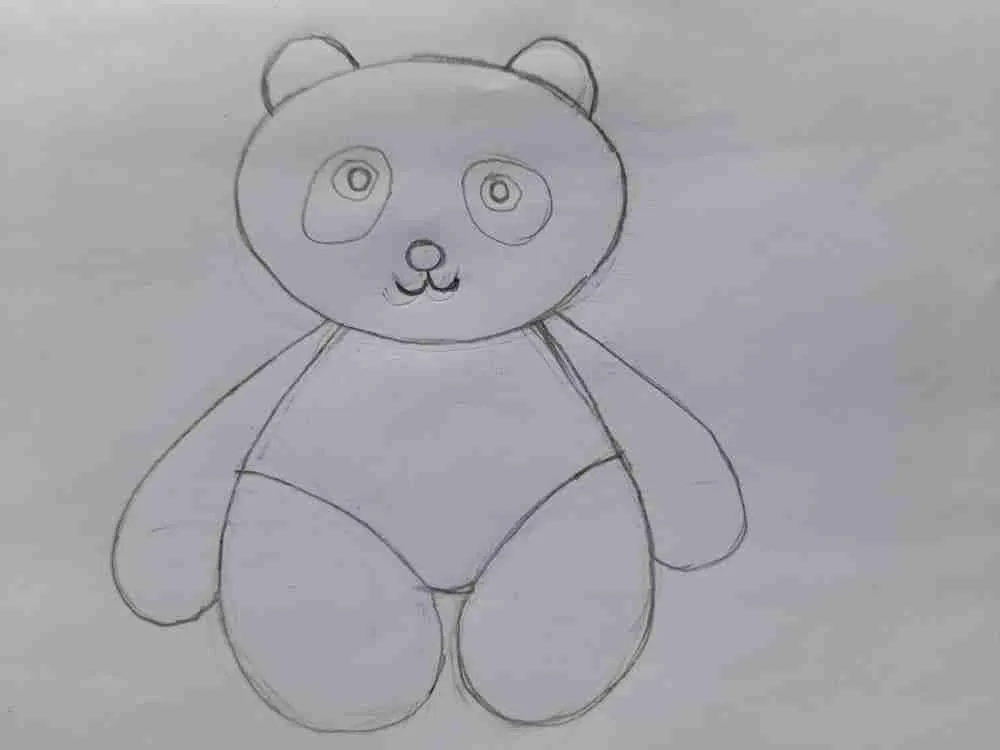
Step 7: Using your black marker or pencil, shade the eye patches, ears, nose, and feet.
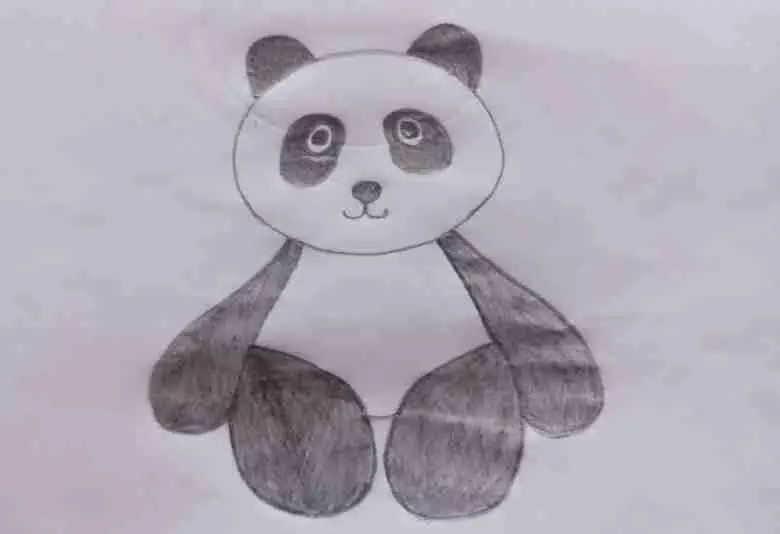
We now have our baby panda image.
How To Draw A Panda Face
To draw the cute face of a giant panda, follow these simple steps:
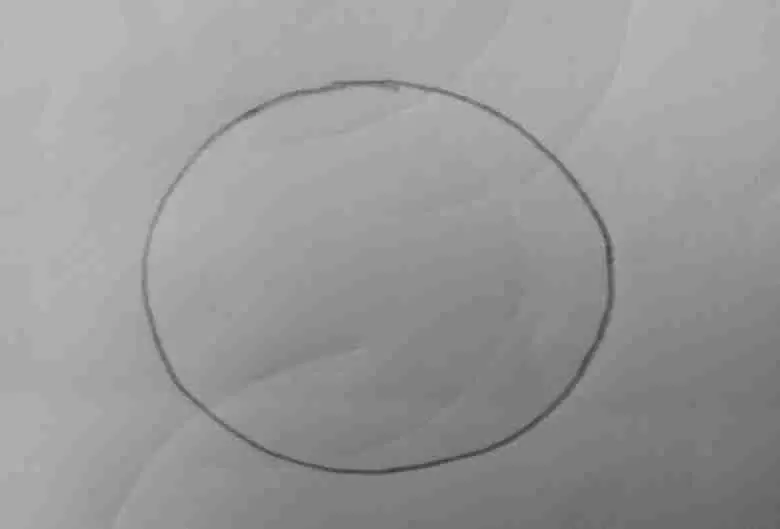
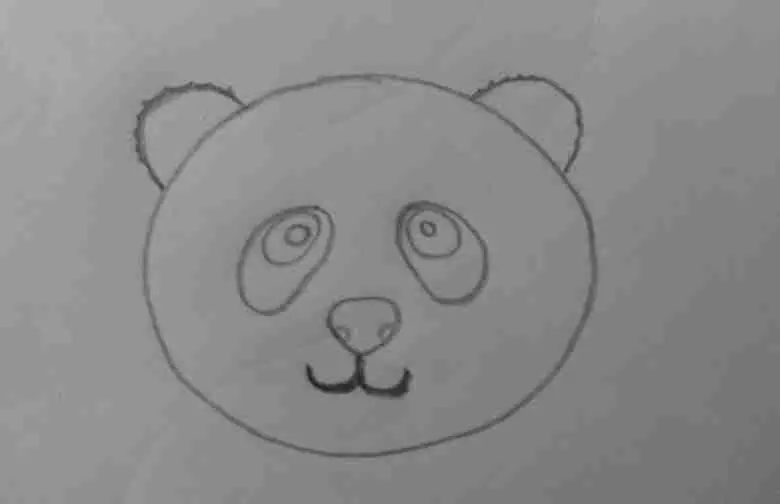
Step 1: Draw A Circle
Draw a large circle in the center of your paper. If possible, place a round object on your paper and trace the edges out with a pencil. It is not compulsory to come up with a completely round shape.
Step 2: Sketch The Eyes
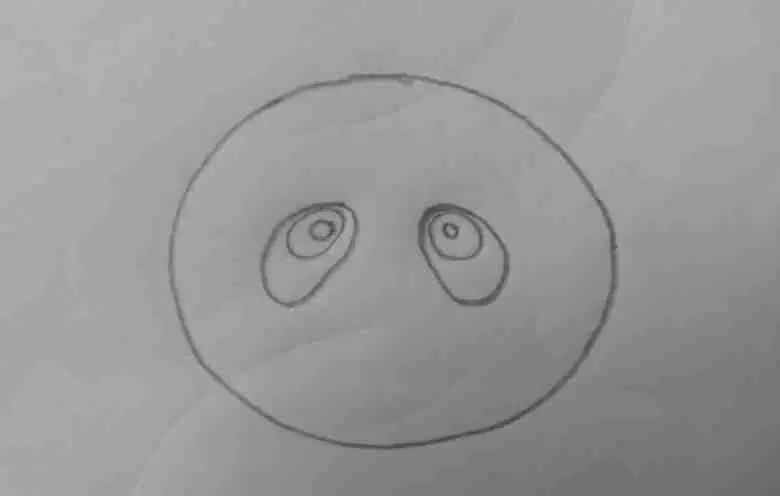
Draw two small circles in the large circle to represent the eyes. Make sure there is a distance between the two small circles.
Draw two oval shapes each around both eyes for the patches.
Step 3: Draw The Nose
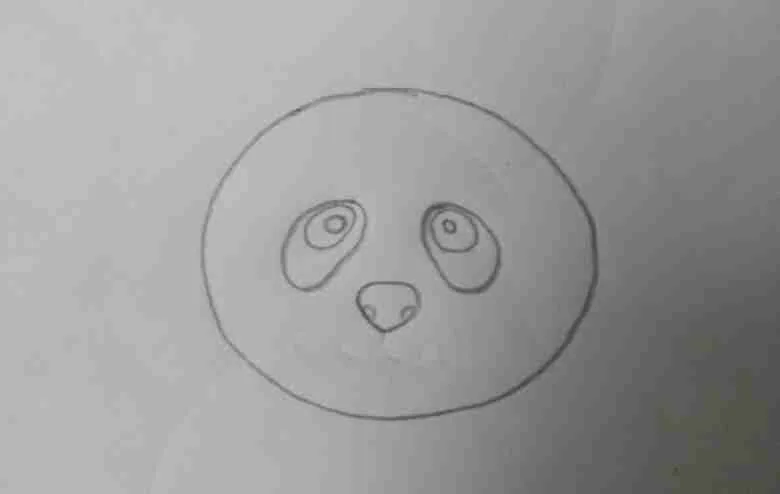
Below the eyes, close to the base of the face, draw the panda’s nose. It is the same shape as an inverted triangle but with curved edges. Afterward, draw two small semi-circles within the nose to represent its opening.
Step 4: Draw The Mouth
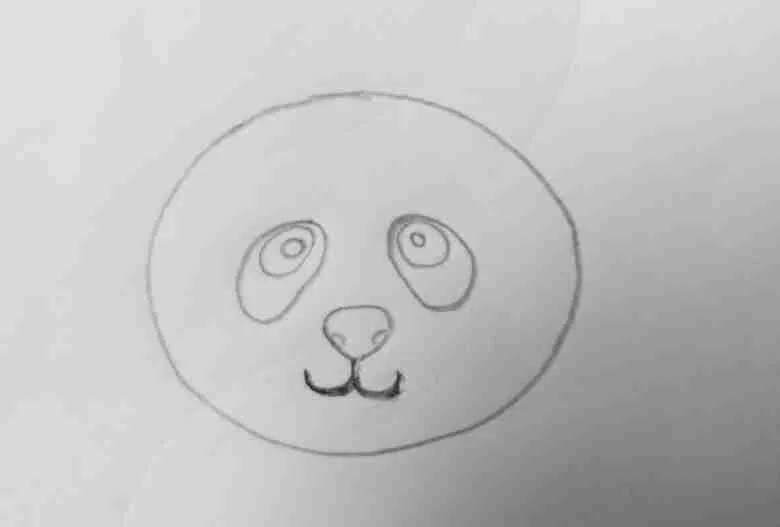
Now, draw a wide letter “w” directly below the panda’s nose to represent the upper part of the mouth. It should look more like a smile if you draw it correctly.
Step 5: Draw The Ears
On each side of the face, draw two circles to represent the ears. You can equally make the edges slightly rough to create a realistic image.
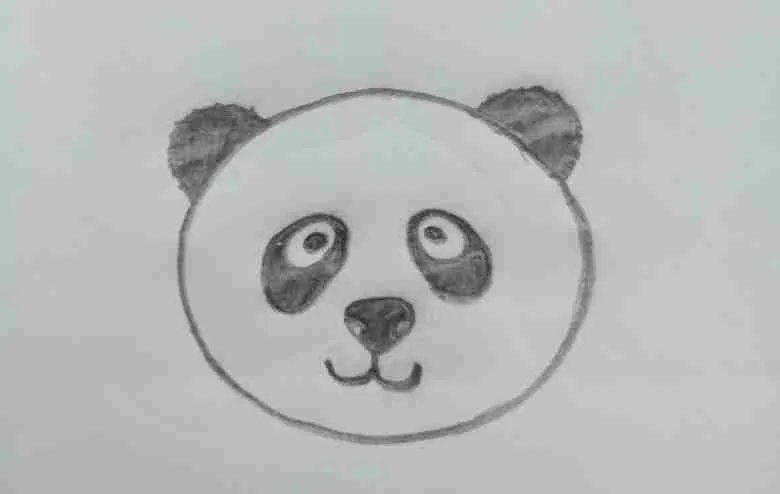
Step 6: Paint
Using your black marker or pencil, paint the panda’s ears. Then, paint the nose, the mouth, and the eye patches.
Conclusion:
I believe you now know how to draw a giant panda, after following the steps in this article. If not, feel free to go through this guide as many times as possible.
As a beginner, it will be best if you use a pencil for drawing as it will be easier to erase all errors.
Within a short time, drawing a panda image will be as simple as ABC if you don’t give up.
Remember, practice always makes perfect!
Do you want to learn amazing facts about giant pandas, check out this article – Giant Panda Fun Facts

